
This is how you turn your clay canes into patterned pieces.
1. Lay your cane out straight

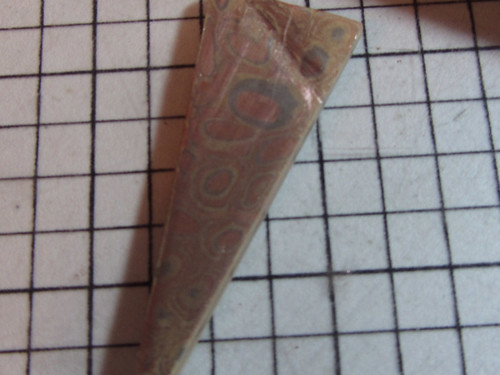
2. Slice it down the middle to check out your design

3. Keep making slices throughout the whole cane

4. Place the sliced pieces in your mold patterned side down.
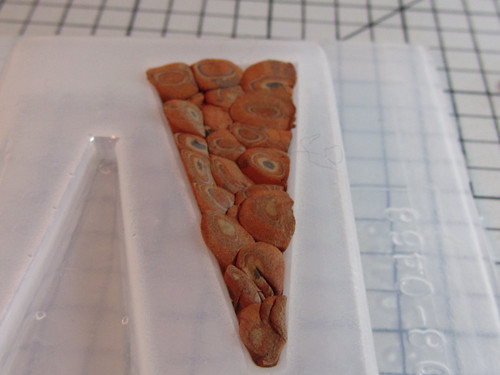
peeking on the other side to make sure you like how it is coming a long
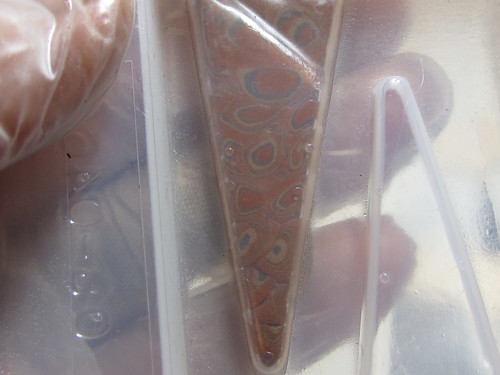
5. Lay it on the cup warming plate making sure it's protected by sticks or something so the mold doesn't melt. The piece will loosen and fall out of the mold when its dry.

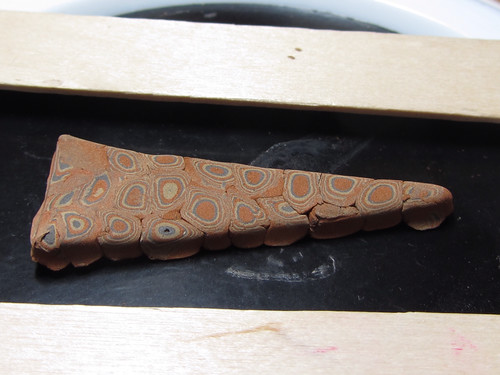
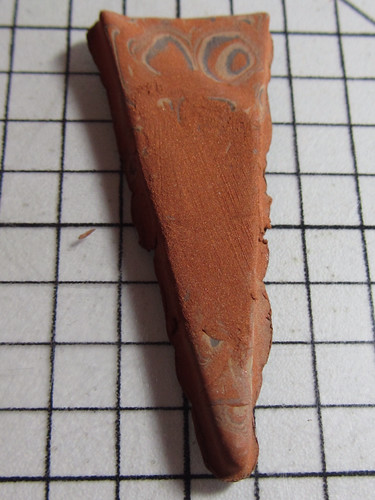
6. This is how it comes out of the mold
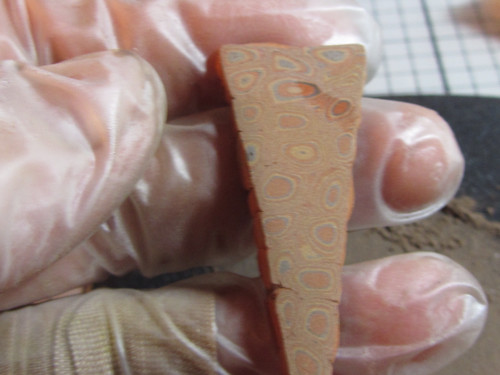
7. There are some cracks so I start my sanding in circular eight motion with 150 grit sand paper. sometimes the sanding makes the cracks disappear, sometimes it doesn't. I am showing you 2 different pieces. One has just been sanded and the other has been filled in and is ready to resand.
8. Continue the sanding. I go from 150 to 220 to 400. I stop when I'm happy with the piece. And I don't forget the sides. Adds such a cool touch to the piece. Once this is done I will add some sort of bail. (not shown here)

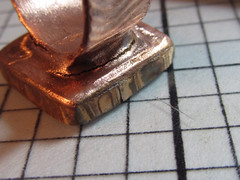
9. The last step before firing, when your piece is exactly how you want it, you will burnish it. Burnishing condenses the clay and makes sure the metals you are joining are in fact joined.

Once this piece is fired and I'm sure it has sintered, I will clean it off with radial discs. If There are any cracks I will fill them and refire, unless I think the cracks are fitting to the piece.
****This ring has cracks that need to be repaired. I will fill in the cracks and then just do the second phase of firing. Any uneven spots after it is fired I will sand and grind until it's smooth.
When my piece is as I like it, I buff it to a shine with 800 grid polishing paper and then 1200 grid. Then I treat it with Baldwins Patina which brings out the colors in the metals and shows the beautiful patterns that the canes have made.
Visit me on Etsy at DaVoria and my Blog
So Cool Dawn! Thank you for this!
ReplyDelete